How to setup a geofence?

Geofences (also called Zones) allow you to create a virtual boundary around a certain area which you can then use to be notified if your device enters and/or leaves this area.

Create a geofence


To create a geofence login to the web tracking platform at https://web.itrackers.com.au and do the following:
  1. In left panel click on Places tab.
  2. Choose the Zones section.
  3. Click Add zone button.
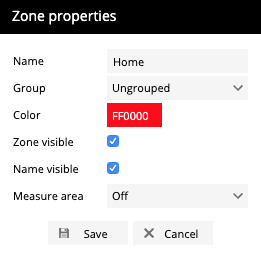
  4. Zone properties window will appear.

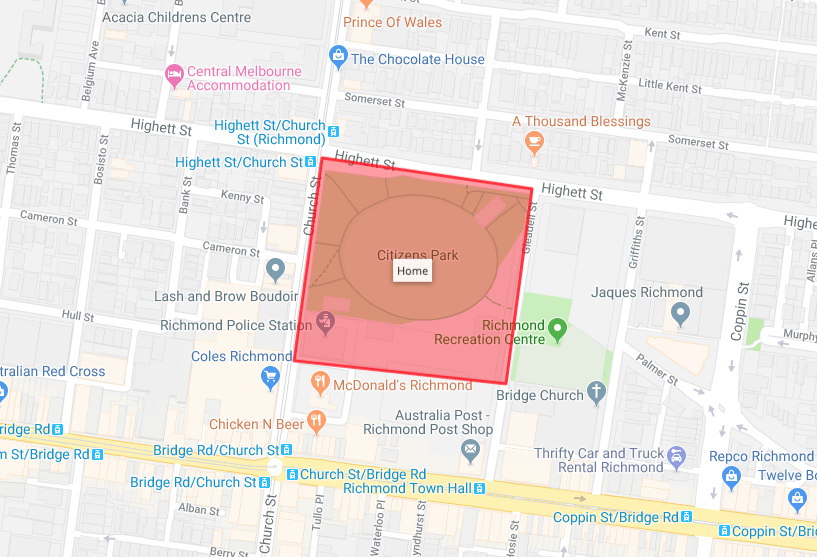
  • Mouse click on map will add zone point.
  • Double click will add last point.
  • Drag points to modify zone. Move mouse cursor onto point and press "Del" key on keyboard to remove it.
  • Save changes.

Once you have created a geofence, you next need to setup an Event to be alerted when your device neters and/or leaves the geofence.

Edit a geofence

To edit a geofence do next:

  1. In left panel click on Places tab.
  2. Choose Zones section.
  3. Choose zone and click Edit zone button.
  4. Zone points will appear.

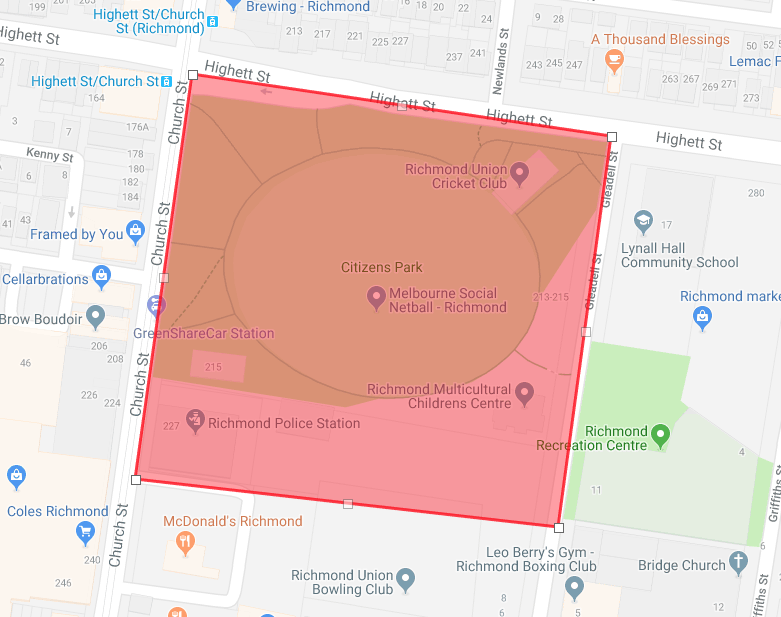
  1. Drag any point to desired position.
  2. Save changes.
  • 4 Users Found This Useful
Was this answer helpful?

Related Articles

How to create an event

Events are used to simplify objects monitoring. They inform you about breaking set rules like...

What is an Object?

An Object is what you track using your GPS tracker. It could be a person, vehicle or an asset.

How do I setup a sub account?

To setup a sub account in the Web Tracking Platform, follow the instructions at...